

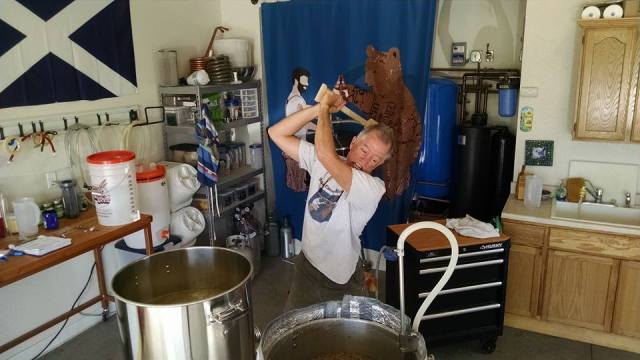
Proudly standing at attention to my new Spike 20-gallon boil kettle (but should have posed on the other side so you could see the branding; see photos below from the other side of the stand)
After numerous boil-overs in my 15-gallon pot, I finally pulled the trigger on a bigger boil kettle. After looking around for awhile, I settled on Spike Brewing‘s 20-gallon kettle. The cost, design, and features sold me, even though it’s too tall to fit below the burners for storage as my shorter 15-gallon kettles do.
When doing 10-gallon all-grain batches, the pre-boil volume is typically almost 14 gallons, which – on the 15-gallon kettle – comes to about 1/2″ below the rim. Even with a tightly controlled boil and using FermCap-S, I still suffered explosive wort eruptions on every batch. I wish I’d realized this before purchasing my kettles so I could have designed my single-tier stand to accommodate the 20-gallon kettle for storage, but I’ll find someplace for the big pot and will be much happier and cleaner on brew day. The 14-gallon mark on this new kettle is about 6-inches below the rim, so we should be safe.
Spike Brewing’s kettles have a bunch of cool features. The main one is the recessed bottom (about 3/8″) which should allow a nice hop cone to form after whirlpooling the wort, with the pickup tube resting just above the bottom level. I’ve been having lots of trouble lately with hops getting into my plate chiller and stopping the transfer from boil kettle to fermenter. This turns transfer into a crisis operation because when it clogs I have to disconnect the chiller and blow it out with hot water, leaving the connections vulnerable to cold-side contamination. I’ve used a hop cylinder in the boiler, but have read that utilization is impaired, similar to mesh hop bags, so I’m hoping to do a better job of whirlpooling the hop pellets into a clean cone; the stepped bottom design of the Spike kettle should help this.
Another cool feature, which many kettles now include, is laser-etched, graduated volume markings. Until now, I’ve used my stir paddle’s rough markings to guestimate volume. This should be more accurate and – maybe – help me do a better job hitting my numbers on brew day.
Finally, the pickup tube is a full 1/2″ and uses a “push-to-connect” fitting that threads into the bottom port. It’s angled to suck from the side just above the bottom level of the kettle. One thing I wish I’d included was another port at the top of the kettle to accommodate a recirculating whirlpool fitting; given my trouble with hops lately, I’m worried that my paddle’s work making the whirlpool might be keeping hops from settling into the cone. Time will tell. I might add a whirlpool port later if my local welder will trade for beer!
Now that I have Spike’s new boil kettle, I want a bigger mash tun!
UPDATE: So, the first brew in the new kettle went super well. The whirlpool worked to keep most of the trub in the center, I beat the OG by one point (but took 30 more minutes to do it), and the beer’s gurgling away in the fermenter. Yippee! Below are a few more photos with this new kettle in action.

Transfer time!

Psyched to now have all these loose things corralled: plate chiller, hop rocket (which I use sometimes as a filter with rice hulls and leaf hops), and oxygen system.

Hells Canyon Beer on a sunny winter brew day
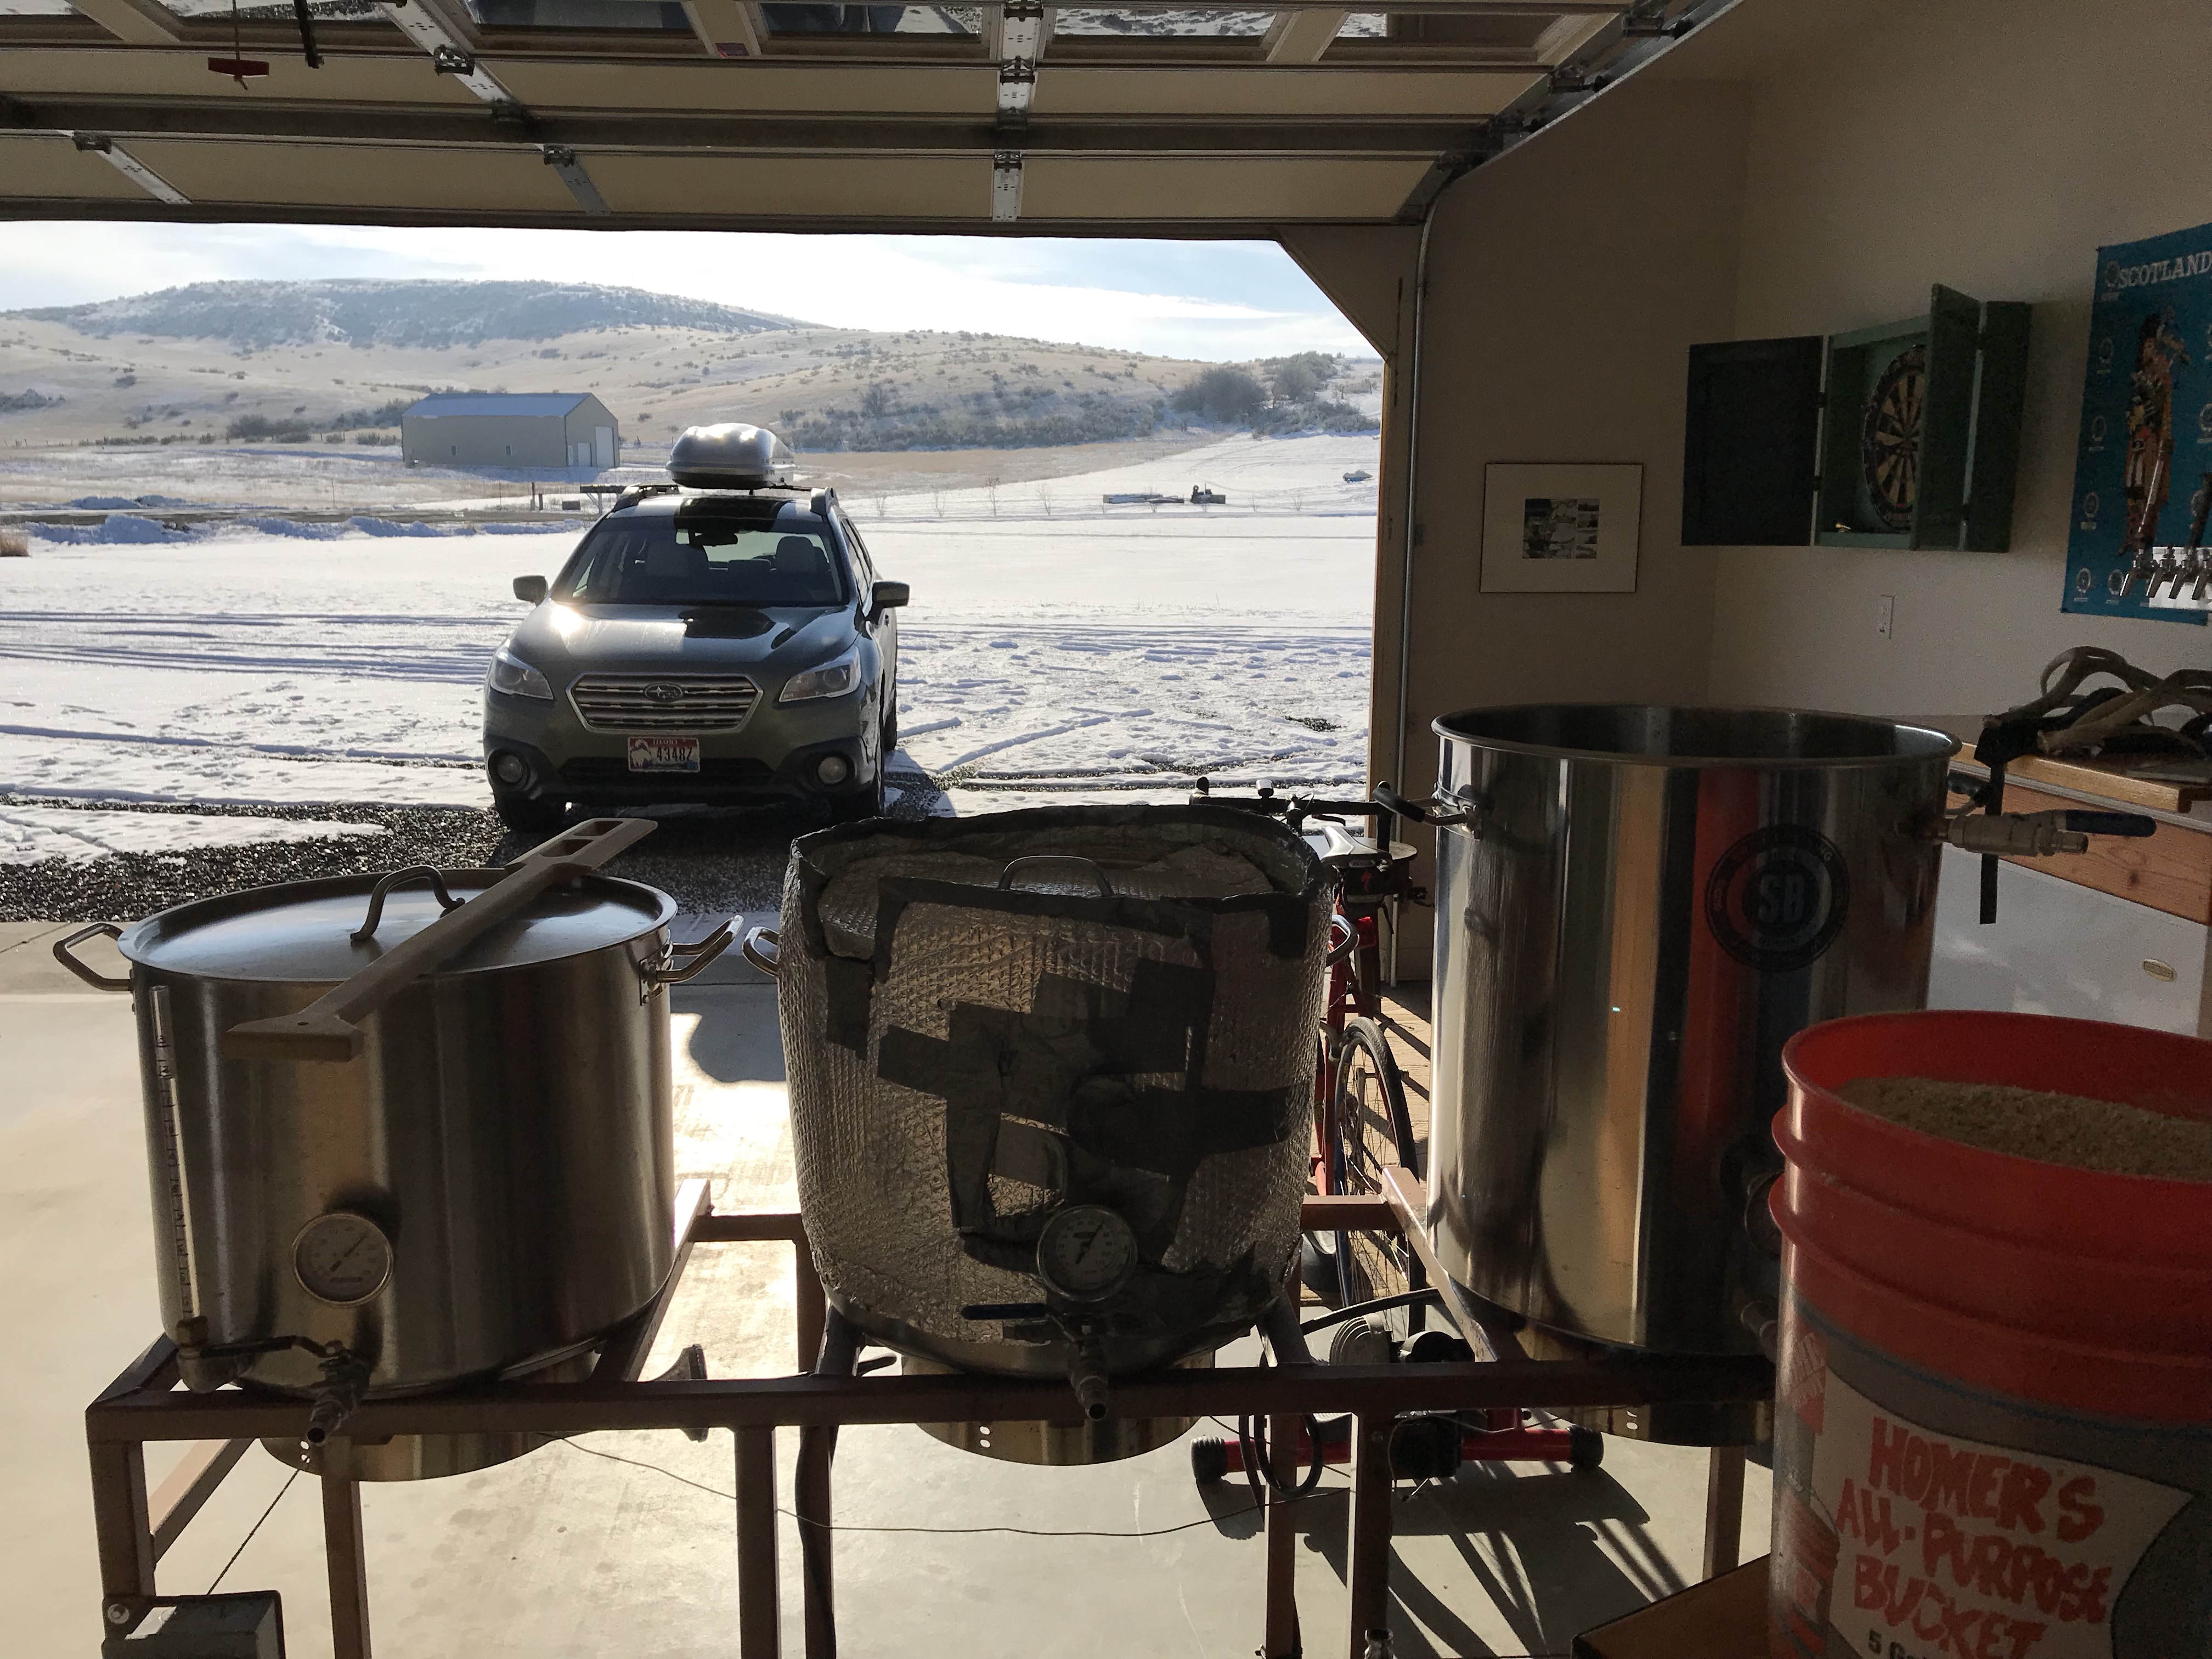
Not a bad view; my MT insulation blanket needs some TLC (or a new design)
